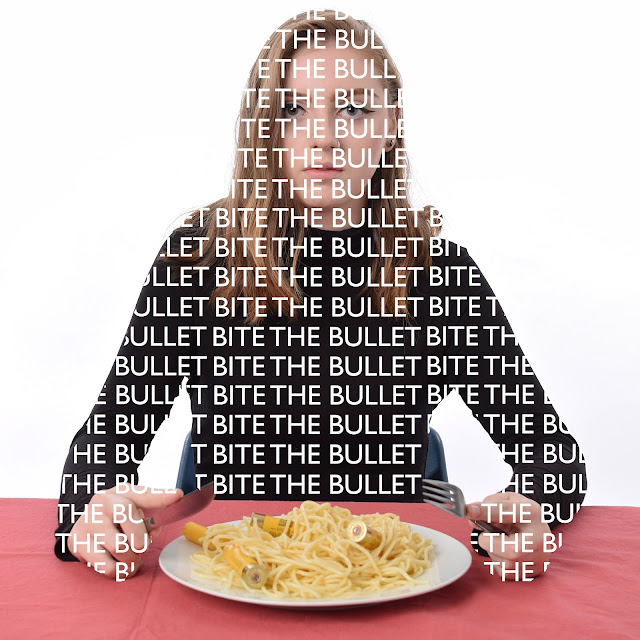
Text overlay and erasion

Process:
- Alter image as you wish e.g. brightness, contrast, lighting.
- Crop image to desired dimensions such as 1x1 framing as shown above.
- Create a text box and write chosen text such a "BITE THE BULLET" across the images top and resize until the text evenly fills the top of the image.
- Open a new blank image and then drag the text into it.
- Drag the copied text out of the blank document and onto your original image you should now have to lines of text.
- Repeat until you have filled the image with text.
- Ensure that your chosen text colour stands out well against the colour of your subject in the image.
- Select the eraser tool (a large tool can be used for bigger areas but it is best to use a smaller rubber when going round the edges of your subject) and erase text that is not placed on your images subject.
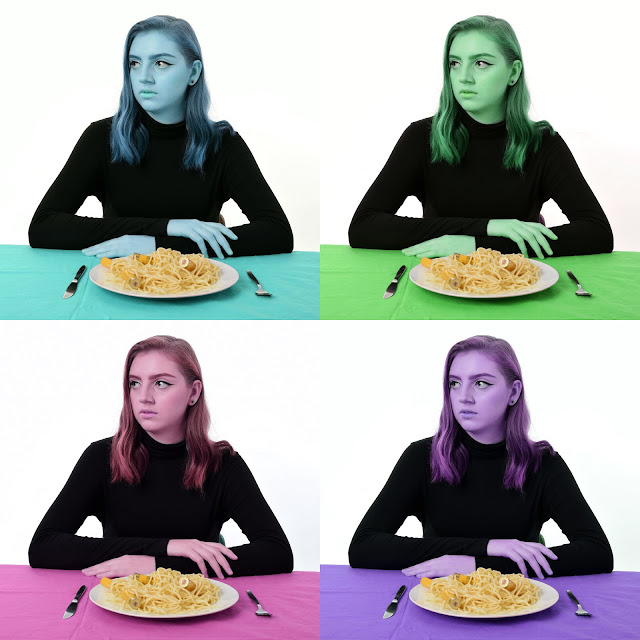
Saturation alteration with grid composition

Process
- Crop the image to your desired dimensions such as 1x1 as seen above.
- Use the quick select tool to select the area you wish to alter the colour of (if the smaller/easier to circle area is not the area you wish to alter the colour of you can select it and then inverse the selection to create the same effect).
- Toggle the saturation option in adjustments to alter your image.
- Save this image as a jpeg file and repeat multiple times with colour variants.
- Once you have however many colour variants that you wish for reopen your files.
- The create a new blank document.
- Drag your edited images onto this document and resize them to suit your needs (above I decreased their size and overlaid them to make sure they had the same dimensions) before placing them in your desired formation.
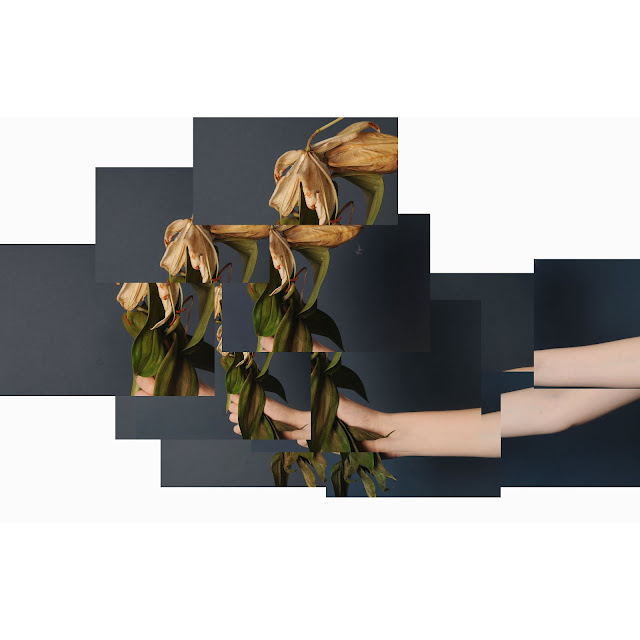
Joiner

- Open 40cmx40cm white layer.
- Insert images taken on shoot.
- Create composition of images by altering sizes of various images and creating a layered placement.
- Adjust images saturation, brightness and contrast as needed.
- Crop image as desired.
Filter gallery stained glass
- Open image.
- Open filter gallery.
- Select stained glass.
- Alter light intensity, cell size and border thickness until you are satisfied.
Text
- Edit image as you wish (above image is edited with a reduced saturation and lowered brightness as well as curves).
- Insert text using text tool.
- Edit text size, coloration and positioning.
Black and White
- Open image.
- Crop as wished.
- Alter saturation using adjustment layers.
- Alter brightness using adjustment layers.
- Alter lightness using adjustment layers.
- Alter contrast using adjustment layers.
- Alternatively alter each colours saturation individually using the saturation tool.
Layered Saturation
- Create 40cmx40cm white square background.
- Open the image you wish to use in a separate tab.
- Drag selected image into white square.
- Repeat as many times as desired (four layers are used above).
- Evenly shift layers to create a staggered or step like effect.
- Reduce opacity of layers 2,3 and 4 in order to create semi-transparent layers (opacity approximately 40).
- Alter layers saturation in order to create an interesting composition add new saturation layers between each layer of image.
- Crop white background around edited image to create a 2x6 composition.


Please annotate your working process using screen prints and annotations...
ReplyDelete